Orion SIRIUS 9995 User Manual
Browse online or download User Manual for Optical devices Orion SIRIUS 9995. Orion SIRIUS 9995 User Manual
- Page / 28
- Table of contents
- BOOKMARKS
- Equatorial Mount 1
- The Sirius EQ-G mount 2
- Table of Contents 3
- 1. Unpacking 3
- 2. Parts List 3
- 3. Assembly 3
- 4. Attaching a Telescope 4
- 5. Balancing a Telescope 4
- 6. Setting Up and Using the 5
- The polar axis finder scope 6
- 7. The Sirius EQ-G Dual-Axis 8
- Controller 8
- 8. The Sirius EQ-G GoTo 10
- Hand Controller 10
- GoTo Hand Controller 12
- Operation 12
- Object Catalog 15
- Other Functions 15
- 9. Specifications 20
- Appendix A: Enhancing the 21
- Pointing Accuracy 21
- Appendix B: Periodic Error 23
- Correction (PEC) 23
- Appendix C: RS-232 25
- Connection 25
- One-Year Limited Warranty 28
Summary of Contents
INSTRUCTION MANUALIN 280 Rev. B 02/06Providing Exceptional Consumer Optical Products Since 1975Customer Support (800)-676-1343E-mail: support@telesco
10In order to set the guiding speed of your Sirius EQ-G, use the following button combinations: •2xsiderealrate: HoldtheFast button, then
11The smaller modular jack on the hand controller (Figure 10) is used for RS-232 communications between the Sirius EQ-G mount and a computer equipped
12control of the Sirius EQ-G mount at almost any step in opera-tion. These controls are locked out when the mount is slewing to an object. The directi
13hand controller will lose track of the mount’s position, and the alignment procedure will need to be performed again. Keep both the R.A. and Dec. l
14the alignment procedure must be performed again. To do this, turn the mount’s power switch off, then on again.Two-Star Alignment Two-star alignment
15improved. To improve pointing accuracy in another region of the sky, perform the PAE function again, this time choosing a bright star in the new reg
16PEC Training: See Appendix B for informationLCD/LED Tuning: Allows adjustments of the LCD charac-ter contrast, the LCD backlighting, and the LED bac
17Note: If the recalled User Object is currently below the horizon, the controller will display “Below Horizon!! Try another obj.” and will automatica
18base, but the hardware version will not change with internet updates).Note: If the error message “Can not connect to a SynScan hand control” appears
19Sirius EQ-G GoTo Hand Controller Menu Tree
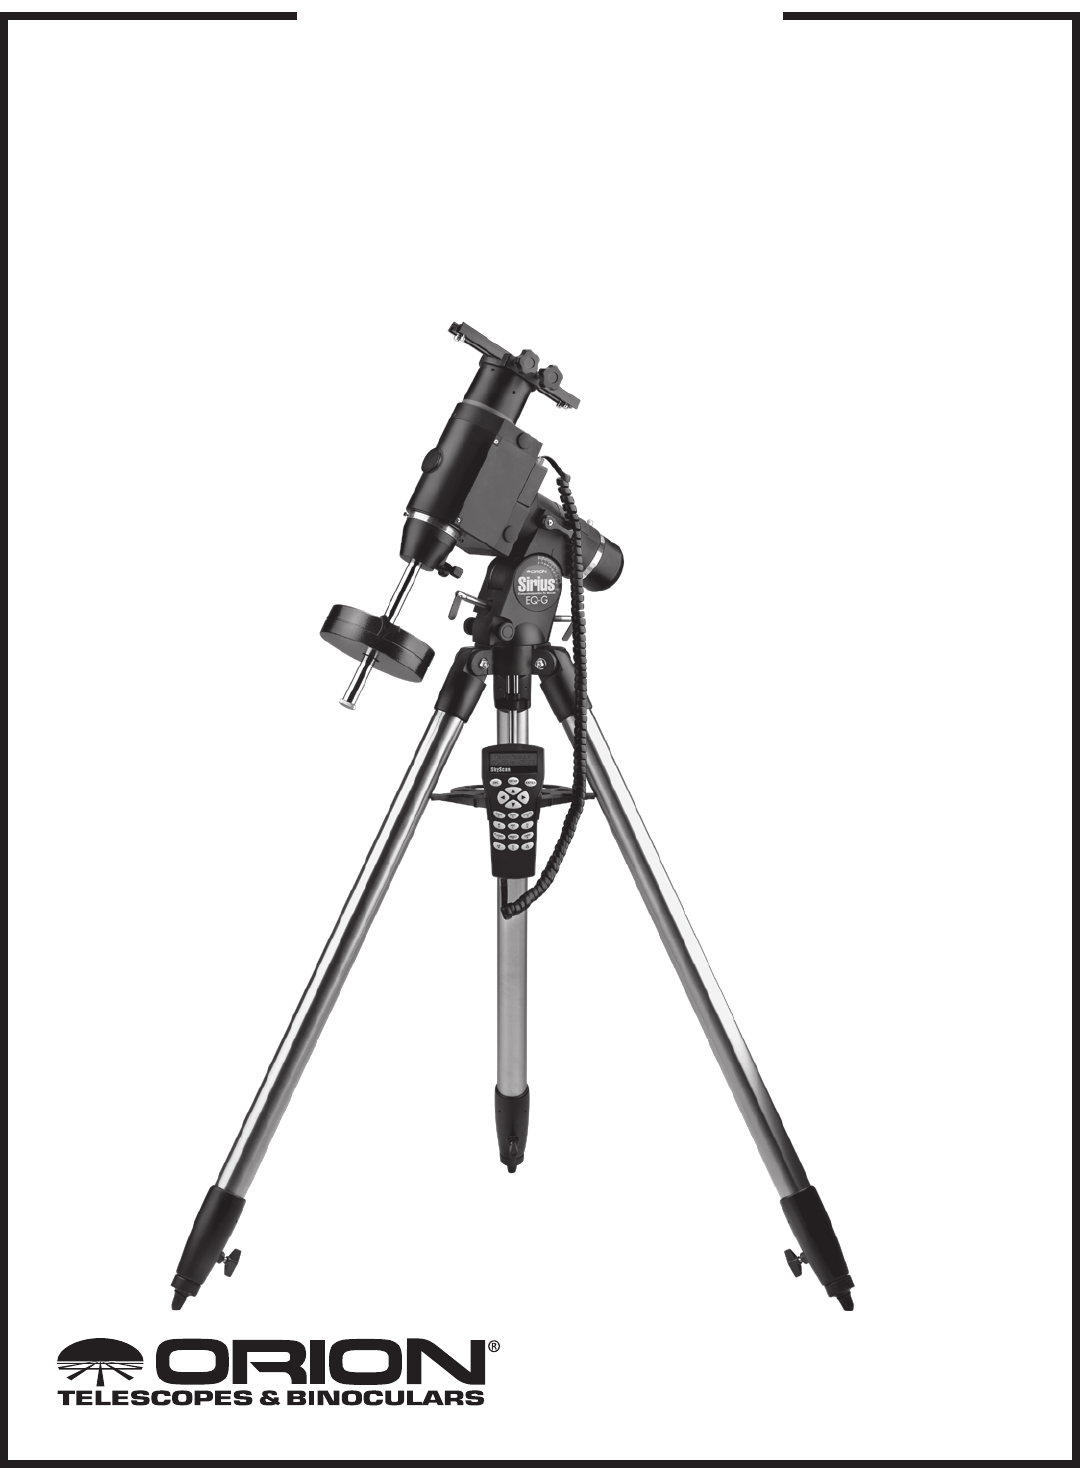
2Figure 1. The Sirius EQ-G mount.Tube ring mounting plate Declination lock lever (not shown)Front opening Declination setting circleCounterweight shaf
209. SpecificationsMount: German equatorialTripod: SteelWeight: 30 lbs. Counterweight: 11 lbs.Polar axis latitude adjustment
21Note: The following appendices apply to the Sirius EQ-G with GoTo hand controller only.Appendix A: Enhancing the Pointing AccuracyThe Sirius EQ-G
228. Without moving the R.A. axis, adjust the azimuth control knobs (Figure 2) to orient Polaris in the center of the eye-piece field of view. Adjust
23Figure 19a. Adjust the optical axis offset screws this way if Polaris moves toward the center of the eyepiece when the tube is
24Note: Guiding actions are recorded even when the PEC train-ing is stopped midway. The PEC + sidereal tracking will not be accurate until a full cycl
25Appendix C: RS-232 ConnectionThe Sirius EQ-G mount equipped with the GoTo hand control-ler are designed to receive commands sent from a computer’s R
26Appendix D: Standard Time Zones of the World
28Orion Telescopes & Binoculars89 Hangar Way, Watsonville, CA 95076Customer Support Help Line (800)‑676‑1343 • Day or EveningOne-Year Limited Warr
3Table of Contents1. Unpacking... 32. Parts List... 33. Assembly ... 34
4the azimuth adjustment knobs on the equatorial mount in order to fit the mount onto the tripod head.3. Thread the central support shaft up thro
5have either too much or too little counterweight. Remove counterweight, or add optional counterweights if needed.3. Retighten the counterweight loc
6To find Polaris in the sky, look north and locate the pattern of the Big Dipper (Figure 6). The two stars at the end of the “bowl” of the Big Dipper
7Using the Polar Axis Finder ScopeThe reticle of the polar axis finder scope for the Sirius EQ-G has a tiny star map printed on it that makes precise
8it with the counterweights down as pictured in Figure 1. Again, you have to rotate the scope in right ascension so that the counterweight shaft is p
9 1. Speed buttons 2. Directional buttons 3. Set buttonThe dual-axis hand controller is equipped with a red LED light in each button to indicate o
Related products and manuals for Optical devices Orion SIRIUS 9995
 (8 pages)
 (40 pages) (2 pages)
(4 pages)
(4 pages)
(8 pages)
(40 pages) (2 pages)
(4 pages)
(4 pages)
(8 pages)
© 2020, manymanuals.com. All rights reserved. | 0.914 s |
 Manymanuals.com
 Manymanuals.de
 Manymanuals.fr
 Manymanuals.it
 Manymanuals.pl
 Manymanuals.cz
 Manymanuals.es
 Manymanuals-pt.com
Comments to this Manuals